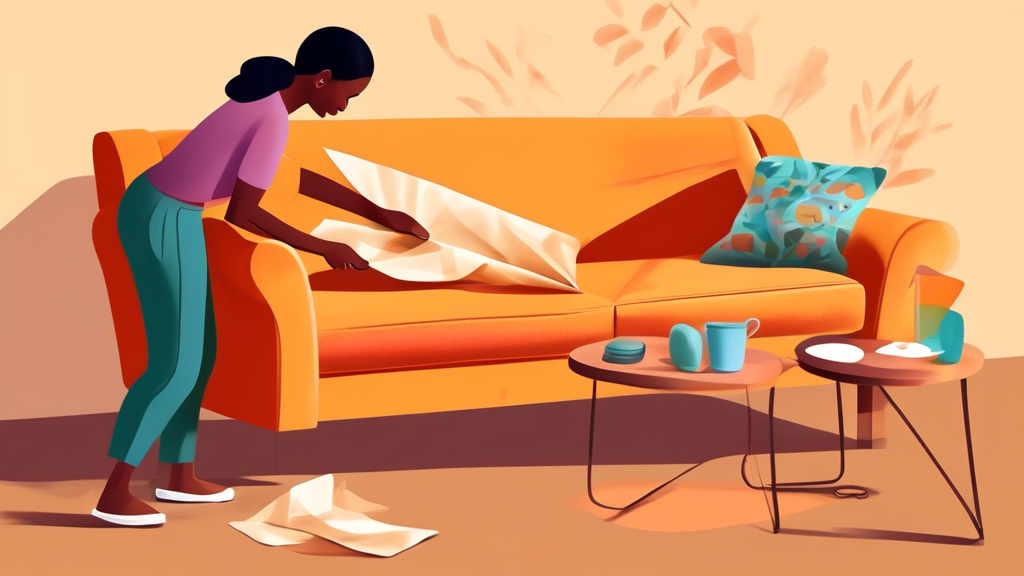
Have you ever had a relaxing evening with candles, only to find that the dripping wax has left a colorful souvenir on your sofa? You’re not alone in this waxy predicament. It’s a common issue that can cause a big headache, but don’t worry—your upholstery isn’t ruined forever!
Removing wax from upholstery might seem like a chore akin to getting bubble gum out of your hair, but with the right approach, it can be a surprisingly smooth process. It’s like finding a $20 bill in the pocket of your old jeans; satisfying, relieving, and somewhat profitable if it saves you a trip to a professional cleaner!
Before diving into cleaning, it’s essential to understand why tackling wax stains correctly matters. Not only does properly removing wax maintain the pristine look of your furniture, but it also helps in preserving the fabric, which can be sensitive to heat and harsh cleaning chemicals. Remember, it’s not just about making your upholstery clean, but keeping it in prime condition for years to come.
**Best Practices for Removing Wax From Upholstery**
The most effective way to remove wax from upholstery involves a bit of heat, some careful scraping, and gentle cleaning solutions. Here’s a guide to getting this job done right:
1. **Let the Wax Harden:** Begin by letting the wax harden. This makes removal easier and prevents the wax from spreading. You can speed up this process by applying an ice pack or some ice cubes wrapped in a plastic bag over the wax.
2. **Scrape Off the Excess:** Once hardened, use a dull knife or a spoon to gently scrape off as much wax as you can. Be careful not to tear the fabric.
3. **Heat the Remaining Wax:** Place a few layers of paper towels over the wax stain. With your iron on a low setting (no steam), gently press over the area. The heat melts the wax, and the paper towels absorb it. Keep moving the paper towels to fresh areas to lift as much wax as possible.
4. **Apply a Cleaning Solution:** Mix a mild detergent with warm water and sponge the affected area to remove any remaining residue. For tougher stains, you might use a mix of equal parts vinegar and water.
5. **Rinse and Dry:** After cleaning, sponge the area with cold water to rinse out any cleaning solutions and then blot with a dry towel to remove excess moisture.
This method has been a real-life saver in many homes. Just last week, one of our clients at CleanBahrain tried this technique on her antique velvet chair and was thrilled when the wax came right off without damaging the fabric. She shared, I thought my beautiful chair was ruined, but now it looks as good as new, thanks to these easy steps!
**Common Mistakes to Avoid**
When it comes to wax removal, there are a few pitfalls you should definitely avoid:
– **Do not use sharp objects** to scrape off the wax. This can irreversibly damage the fabric.
– **Avoid using too much heat** or keeping the iron in one place for too long, as it can burn the upholstery.
– **Don’t skip the patch test** for any cleaning solution you plan to use, especially on darker or more delicate fabrics.
Maintaining your upholstery requires knowing what works well without causing damage. For instance, at CleanBahrain, our team utilizes these tried and tested methods, coupled with professional techniques, to ensure your furniture always looks its best. Our happy clients often tell us their stories of DIY successes inspired by our advice, followed by requests for deeper cleanings for other parts of their homes!
In conclusion, removing wax from upholstery doesn’t have to be a daunting task. With the right approach, you can handle the mishap efficiently and retain the beauty and longevity of your furniture. And when in doubt, calling in professionals like those at CleanBahrain can ensure that your upholstery gets the best care possible. Ready to give your furniture a new lease on life? Get in touch with us today and experience the ultimate in clean comfort!

