Have you ever finished making a fresh batch of juice, only to groan at the sight of all the pulpy mess left behind in your juicer? Cleaning a juicer might seem daunting, but what if I told you it could be as easy as sipping on your freshly squeezed orange juice?
Let’s face it: few kitchen chores are less appealing than tackling a dirty juicer. With its nooks and crannies, it can sometimes feel like you’re trying to detail a car instead of cleaning a kitchen appliance! But fear not, because keeping your juicer spick and span is essential not just for the machine’s longevity but also for your health. After all, who wants to drink juice that tastes like yesterday’s apples?
**Best Practices for Keeping Your Juicer Clean**
Cleanliness in the juicing world is akin to godliness. Here are some pro tips that can make the cleaning process as refreshing as the juice itself:
1. **Clean Immediately After Use**: Like tackling dirty dishes, cleaning your juicer right away prevents pulp and residue from hardening, making them easier to wash off.
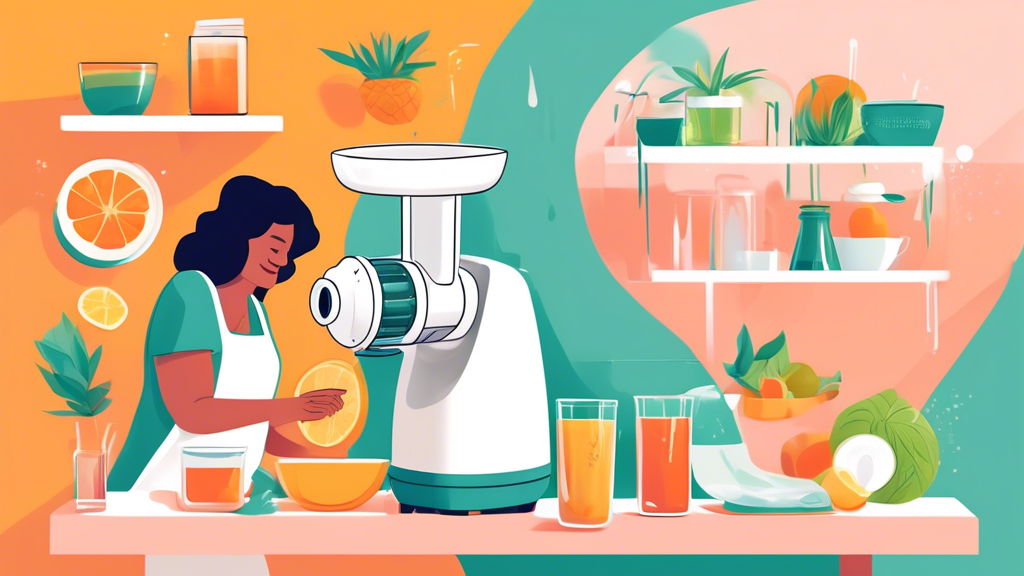
2. **Disassemble with Care**: Each part of your juicer needs attention. Carefully disassemble your unit – the strainer, the pulp container, the feeding chute, and any other removable parts.
3. **Rinse Each Component**: After you disassemble the juicer, rinse each part under running water to remove major debris. Use a gentle scrub if necessary, particularly on the mesh strainer as it can get clogged easily.
4. **Use the Right Tools**: A cleaning brush specific for your juicer can be a godsend, especially for scrubbing tiny particles out of the mesh. Sometimes, a simple toothbrush or a soft sponge works wonders too.
5. **Soak to Remove Stubborn Residues**: If you encounter stubborn grime, allow the parts to soak in warm, soapy water for a few minutes. This loosens up the gunk, making it easier to scrub away.
6. **Dry Thoroughly Before Reassembling**: Ensure all parts are completely dry to prevent mildew or bacteria growth. This is crucial for maintaining the juicer’s performance and lifespan.
**Real-Life Applications: A Mini Case Study**
Let’s take a look at a brief success story! Jane, a long-time customer of cleanbahrain, used to struggle with her juicer maintenance. After adopting these easy steps provided by our expert team, she reported that her machine not only runs better than ever but her juices taste fresher too!
**Implementing These Practices**
Here’s a quick checklist for you:
– Clean immediately after each use.
– Use designated brushes to reach all parts.
– Soak parts if necessary.
– Dry completely before assembly.
**Common Mistakes**
– **Ignoring the Clean Right After Rule**: This can make your job twice as hard later.
– **Forgetting to Dry Components**: Which can lead to rust or mildew.
– **Using Harsh Chemicals**: Stick to mild soap as harsh chemicals may damage the components.
Jane’s testimonial isn’t unique at cleanbahrain. Our countless satisfied customers often express gratitude for the improvements these simple steps bring to their juicing routine.
To summarize, maintaining a clean juicer is vital for both the functionality of the appliance and the health benefits it promises. Implement these steps, and you’ll not only prolong the life of your juicer but also enhance your overall juicing experience.
If the thought of cleaning still has you feeling a bit down, remember that cleanbahrain is here to help! Our professional cleaning services include taking care of appliances, ensuring they are in tip-top shape. So why wait? Reach out today and make your juicer maintenance even simpler! Say goodbye to cleaning blues, and hello to refreshing, delicious juices. Cheers to your health!